Extra Security Module
This module allows to restrict access to your FreeScout’s admin area & tickets by IP addresses. It also allows to add a reCAPTCHA:
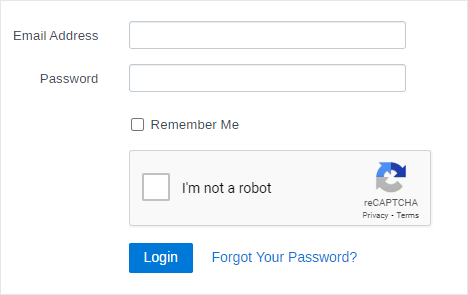
- To the main FreeScout login form.
- To End-User Portal “Login” form.
- To the End-User Portal “Submit Ticket” form.
If you are using End-User Portal Module make sure to update it to the latest version for this module to work. Also keep in mind that reCAPTCHA is not added to the “Contact Us” widget – only to “Submit a Ticket” page in the End-User Portal.
Module settings can be found in “Manage » Settings » Security”.
Restrict Access By IP
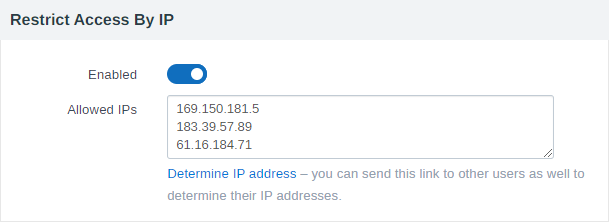
You can enter single IP addresses or IP address ranges (example: 130.119.148.15/26).
IP restriction does not affect FreeScout API, End-User Portal or Knowledge Base – they continue to be available from all IP addresses.
When you are adding IPs to the list of “Allowed IPs” the module automatically adds your own address to the list in order not to block you from accessing the FreeScout.
If you are using load balancer, proxy or CloudFlare and user IP addresses are detected incorrectly you way need to set Trusted Proxies in the /.env file via APP_TRUSTED_PROXIES parameter (see extra instructions in /.env or /env.example file) and clear cache.
Add reCAPTCHA To Forms
This module uses Google reCAPTCHA v2 which provides two types of captchas: Invisible and “I’m not a robot” checkbox.
Invisible reCAPTCHA looks like a square box displayed in the bottom right corner of the screen.

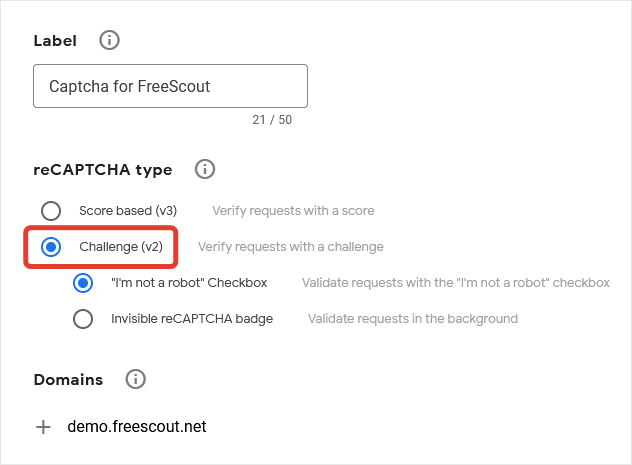
In order to create a Google reCAPCHA go to https://www.google.com/recaptcha/admin/create and enter Label, choose reCAPTCHA type – Challenge (v2) and enter Domain which you are using for your FreeScout instance.
Although Google reCAPTCHA v2 offers you to choose captcha’s type (Invisible or “I’m not a robot” checkbox) when creating a reCAPTCHA, you can change its type dynamically afterwards in module’s settings without changing captcha type in Google reCAPATCHA settings. In other words when changing captcha type in FreeScout settings you don’t need to create a new reCAPTCHA in Google and copy-paste new Site Key and Secret Key to FreeScout.
You can create several Google reCAPTCHAs for each form in FreeScout or you can use one reCAPTCHA for all FreeScout forms – it’s up to you.
You can manage all your Google reCAPTCHAs on https://www.google.com/u/4/recaptcha/admin/ page.
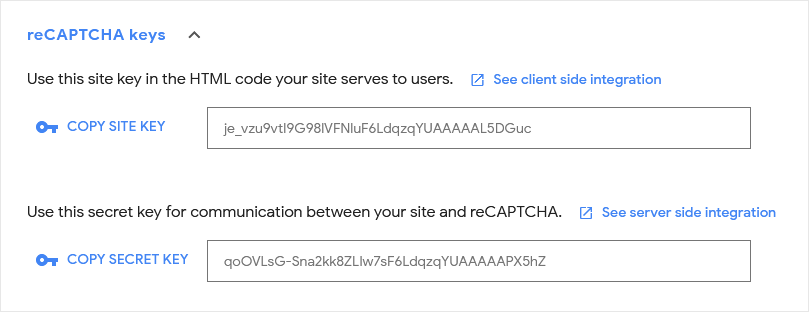
After creating a reCAPTCHA go to its Settings in Google (under Gear Icon), expand reCAPTCHA keys dropdown and copy Site Key and Secret Key into corresponding fields in module’s settings in FreeScout.
Troubleshooting
Module logs can be found in “Manage » Logs » Security”.
If you can’t login as an Administrator because your IP is blocked – open /.env file, remove “EXTRASECURITY_IPS_ENABLED=…” line and clear cache.
If you can’t login as Administrator due to some issues with reCAPTACHA on the main FreeScout login form – open /.env file, remove “EXTRASECURITY_RECAPTCHA_MAIN_ENABLED=…” line and clear cache.